
Here are the final steps he took to finish the job...
1. Tape off cabinets and walls where it meets the backsplash (to keep grout from getting all over said cabinets and walls).

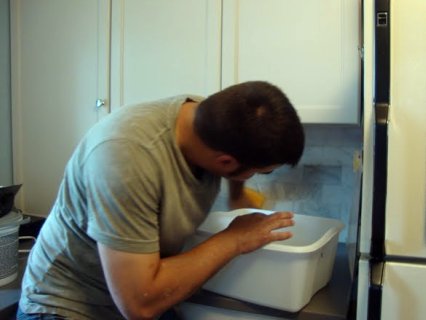
2. Fit remaining subway tiles in behind the stove underneath the new microwave (ignore the paint can in the picture - more to come on that later)...

...much better, no?

3. Grout, grout, grout all the tile. Joey moved the stove away from the wall to grout behind it more easily.

This was a messy process - making sure grout got into all the little grooves and crevices, especially where the tiles met the countertop.

4. Wash the excess grout off all the tile using a sponge. Grout tends to leave a filmy layer of stuff all over the tile and countertop. So, it took quite a few wipe-downs to get it all clean.
5. Attach outlet covers and enjoy the results!


It looks fabulous! And we're one project closer to a finished kitchen!


No comments:
Post a Comment